Saturday, March 31, 2018

Church Banner - St. James


Hi Friends,

Last year, our parish priest requested that I make a three-banner set for the church, representing 3 saints that are important to that church. Based on when he asked me and how soon he wanted them ready for display, I agreed to try to have them finished by the saint's day for each one as it came up.

**Note. Since this was done for a church, the descriptions and explanations below will make use of more "churchy" and Bible-related language. However, I'm presenting it here primarily for the artistic and fiber arts side of things.

The first saint's day that was going to approach was that of St. James. Based on research using various saint descriptions and databases, I came up with a list of symbols for each saint, and started working it into a design.

Additionally, it was important that all three banners be distinct and individual, but yet that they have some cohesion and are clearly of a set. I came up with the mosaic-esque element first, and decided to try to have a similar element in each, to keep them unified. I'll write more about my inspirations for the set as a whole when I post about the completed set of 3.

Here are some of my sketches:

The key was in my early sketches, but got exchanged for the St. James cross when I had trouble finding out what the key was supposed to stand for. Drat, because I liked my multi-piece key design.

I liked how the cross came out too, though!

Once I had the design ready, I got the fabrics. I got all of the base/background for the banners at once, since it would be the same for all of them. I measured the hall they would be going into, with the help of the priest, to figure out what kind of space coverage he wanted. They ended up about 3' x 5', though the wall could have handled more. The restrictions that kept them small were 1) it had to be able to fit on banner poles for procession, and 2) the person carrying it needed to be able to see under or around it if necessary.

I cut and hemmed all three bases at once, so I could then just focus on design.


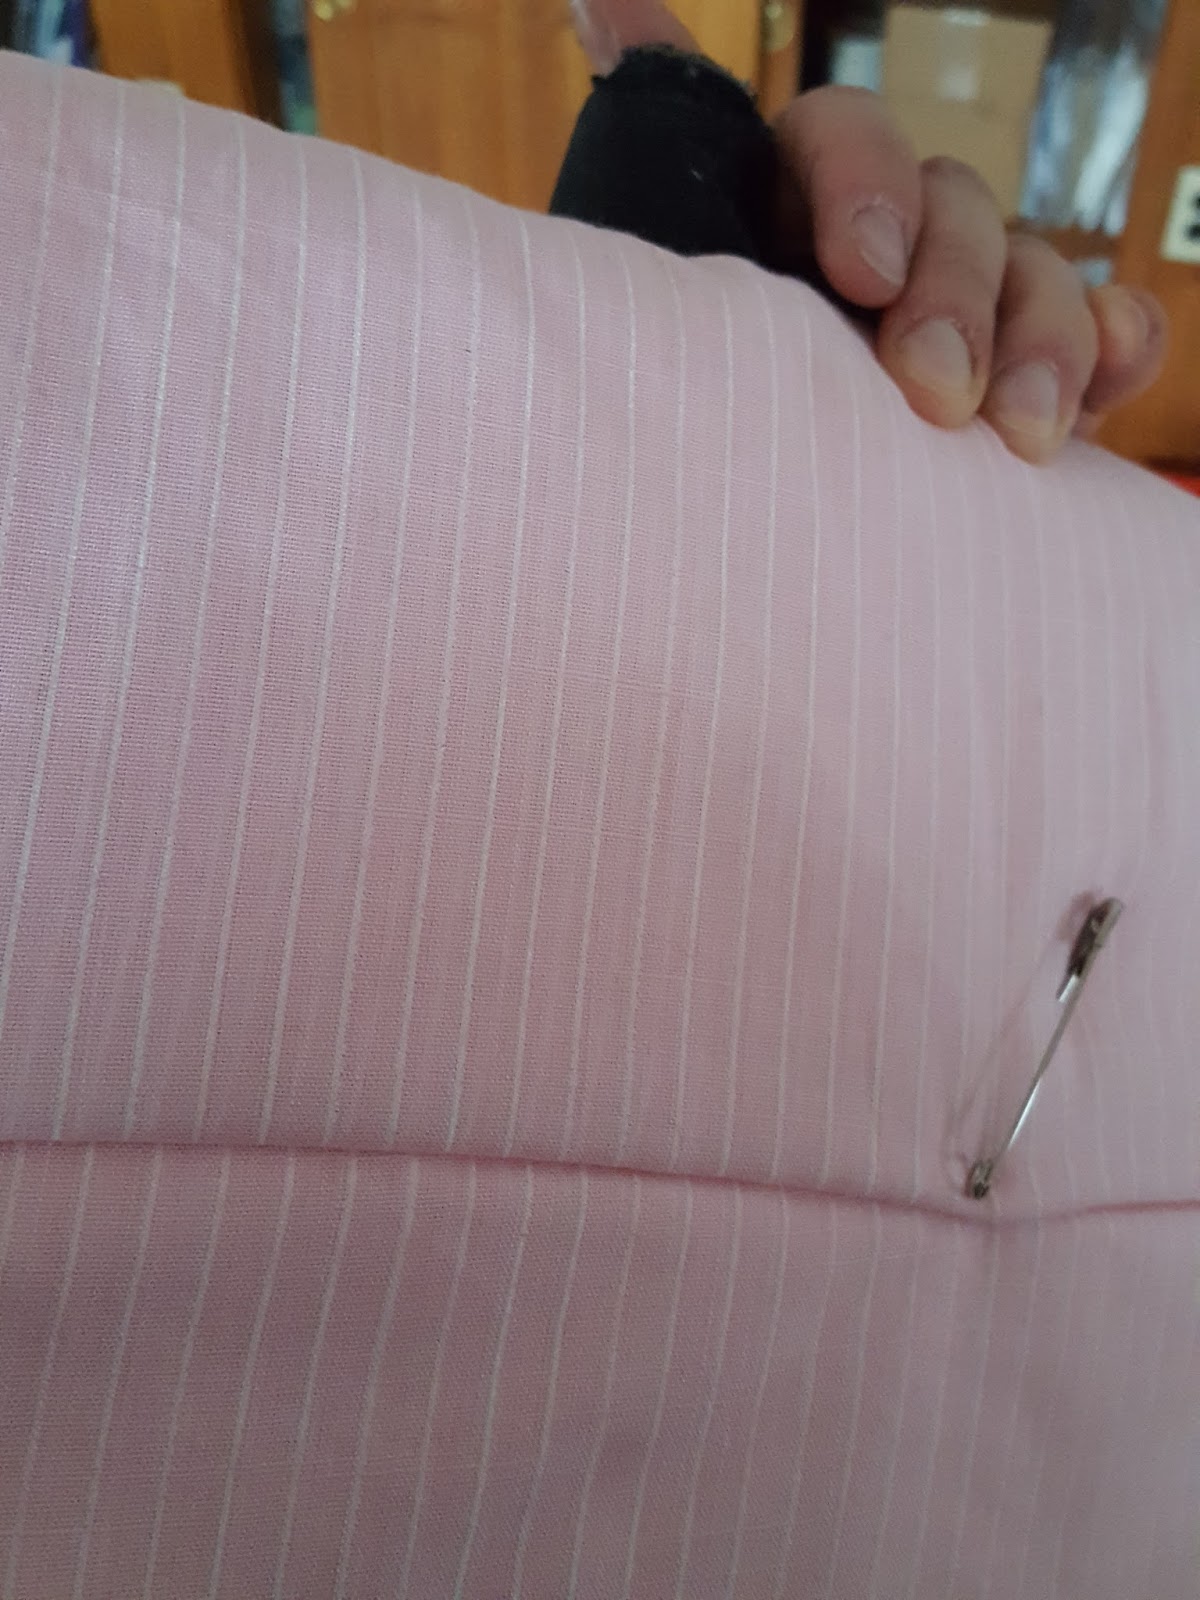
Here you can see the process of layout. I used a combination of pins and eyeballing, and then ironed everything on using iron-on double sided interfacing. In fact, that's the state the banner is still in... one of these weeks I'll bring it home and just sew down all the edges!

Full layout, fully ironed down, awaiting some details.

The details are the shell ridges and the sword runnel. Both are a shiny metallic cord. They are glued on, to be couched properly by hand at a later date.

Draped over a rocking chair awaiting delivery. Didn't want to make creases in my ironed banner, so it took over the living room!


Banner and artist in the church hall!
Here's my write-up of the symbolism used, which was posted beside the banner in the church:

The Path
St. James, after being a disciple of Jesus, became a traveling preacher in his own right, and is said to have traveled as far as Spain. The path represents his travels and his teachings of Jesus as The Way.

The Shield
St. James Parish in [removed] uses a red shield with a sword and shell as their church crest.

The Sword
St. James is said to have been beheaded by a king who did not appreciate his teachings.

The Shell
One of the places in Spain that St. James may have traveled to, and where his relics did come to rest, was named after him: Santiago de Compostela. This is not far from a coastal area, and pilgrims who visited his relics in the middle ages would pick up a sea shell as a souvenir. Some attribute the shell to pilgrims’ souvenirs from the area of Palestine, instead.

The St. James Cross
The St. James Cross combines the iconography of the sword (the pointed bottom) and the scallop (the top).

Other names for Saint James include: St. James the Greater, Santiago (or Sant Iago), San Diego, Sankt Jakobus, St. Jacob.


Yours,

Sarah

To subscribe, find the "subscribe by email" note in the left column and enter your email there. Posts will be emailed directly to you whenever I post them!


Resource list: Visit my spreadsheet at www.tinyurl.com/infantloss

Wednesday, March 28, 2018

Reminder: Walking in Charlie's Memory.

(topic: Infant loss remembrance walk)


Hi Friends!

Once again a reminder that on June 23rd, we will be taking part in the Now I Lay Me Down To Sleep (NILMDTS) sponsored remembrance walk. We have our own team (Team Tiger!) and we'd love for you to join us if you can, or sponsor us as we walk in Charlie's memory. Donations go to support NILMDTS provide a pro-bono professional photographer to parents going through infant loss.

Donate or join us here at this link: https://raceroster.com/events/2018/15365/now-i-lay-me-down-to-sleep-2018-remembrance-walk-oh/pledge/team?id=54


From the NILMDTS website FAQs:
Q: What if someone wants to give a check donation?
Mail to: Now I Lay Me Down to Sleep 7500 E. Arapahoe Road, Suite #101 Centennial, CO 80112. Thank you in advance for your donation.
To have the donation count towards a team or a specific team member please ensure that the individual member or team name are included when mailed.
Q: Can contributors submit a matching gift for this event?
Many contributions can be doubled if your organization/company has a Matching Gifts Program. Fill out your company or organization’s paperwork for matching gifts and submit the forms per their directions.


Yours,

Sarah

To subscribe, find the "subscribe by email" note in the left column and enter your email there. Posts will be emailed directly to you whenever I post them!

Resource list: Visit my spreadsheet at www.tinyurl.com/infantloss

Saturday, March 24, 2018

Semi-Sheer Pink Day Dress


Dear Friends,

"How long did it take you to make that?"
I hear this question a lot, but it's not as simple as that. Remember, some of the details that make it take time (such as having matching piping, linings, lower hem linings, hand stitching, hand button holes, etc), don't necessarily show easily or obviously to the untrained eye.

Additionally, even if you are doing something basic, can it take a long time? Sure! Can something complicated go fairly quickly? Definitely! It's a combination of your materials, your tools, the techniques you decide to employ, and the care you take, as well as the skill and amount of practice you have.

This dress I'm about to show you is honestly the fastest I've ever made a dress. But: don't feel like this is a benchmark. I'll point out some corners I wish I hadn't cut, some things I wish I done differently, and I'll tell you right now that I was way too tired the next day. But I looked amazing!

This dress took me about 12 hours, start to finish. I used far less hand sewing than I often do, and didn't check to make sure my striping lined up or that my pleats were even. From prior posts, you'll likely remember I had more urgent items I was working on that are part of the support structure and undergarments, so this dress was really low priority and thus came absolute last.

Also, I should have been doing my sewing much earlier, so it didn't become a cram session. BUT I REALLY WANTED A PRETTY DRESS!!! So my motivation was very high. I skipped some housework and maybe even a meal, getting so caught up in the sewing process :) :)

The fabric. Semi-sheer striped cotton. I randomly had a whole bolt that my mom had given me. I didn't measure the yardage ahead of time. I cut 4 panels each about 50" long, plus cut sleeves and a bodice. And I still have about a yard left - which is really good, given my sleeve issue I'll mention later. So maybe I used 6 or 7 yards.

When the light isn't behind it, it's not super sheer.

With the light behind it.
I already have a basic bodice pattern, that was drafted for me by a friend when she made my wedding dress (which was very Civil War era inspired). But it's been a few years, and my body has changed shape, and I knew which parts of the pattern didn't fit right. So as I cut out pieces, I adjusted.

I also intended this to be more of a gathered-front dress, but didn't swing out the bottom edge of the bodice nearly enough. So I just had a few little pleats, but not what I was aiming for. Beneath the pink, there is a fitted half-high white muslin bodice lining, but I forgot in my haste that I meant to make that the structural closure and let the pink float on top in the front. That gave me some extra fabric and extra tension issues at the front closure.

I was doing as much by machine as I could, and before I started this, I'd made sure my other projects were done - but I'd realized that I could do some things in my hotel room, so I'd actually not attached the buttons to my other items yet, and I finished as much of the dress assembly as I could by machine at home, and did all the button holes by machine, but left ironing, hooks and eyes, buttons, and attaching the waistband to the skirt and then to the bodice (hand stitching) until I was in the hotel room.

The only major issue I didn't catch at home was that the sleeve pattern I had was actually much smaller than my arms. So in the pictures below you can see how, while wearable, these sleeves really don't fit well at all. Somehow I found time to make bias piping for the armscyes, but I think I'll have to take out the sleeves entirely, open up the armscyes more, re-cut the sleeves, and re-sew them completely. Even the cuffs ended up a bit tight, so I can use the fabric that is currently sleeve and turn them into cuffs, and use my extra fabric to make new sleeves!

Once I was at the hotel, I ironed the big loop of fabric that would become the skirt, and started doing double-stacked knife pleats. For me, especially if I'm not lining up stripes or a plaid or worrying if they are perfectly even, pleats are the quickest way to stuff lots of fabric into a small space (or semi-small. My waist isn't super tiny!!). Then I stitched the waistband on, the bodice to that, and then spent the rest of the night on buttons and hooks and eyes, with the hotel room TV on. And, since I was traveling alone, I couldn't even do them in the car while someone else drove! That's why I got to bed a bit late....

Here's the dress, finally completely assembled, around 1:30am, in the hotel room.

Here you can see that my seam isn't perfectly ironed (I hope it will show less once I go over it again) and that I'm still not great at the waist closure lying smoothly. You can also see if you look closely that the sleeves are small: a bit short, and a bit tight. This is also causing the puckers and gathering under my arms, and the shoulders getting that weird wrinkle going over the top. I think all those will resolve once I fix the sleeves. GAH! I just noticed my petticoat is showing!!! MUST SHORTEN.


I'd intended the neckline to be more of a V, so I may still adjust that. The puckering at the closure is simply because I have not put all the hooks and eyes on yet, so this is more of an every-other emergency measure. I'm also noticing some rippling along the neckline. I'll have to ask some seamstress friends whether a rolled hem might help reduce that, or maybe a facing.

I felt like a floaty flower in this dress.

Sitting for my ferrotype. A photographer was at the event, and while he was using me as a practice subject, my friend snapped this picture of me. Photo credit to The Young Sewphisticate.


Yours,

Sarah

To subscribe, find the "subscribe by email" note in the left column and enter your email there. Posts will be emailed directly to you whenever I post them!

Resource list: Visit my spreadsheet at www.tinyurl.com/infantloss

Thursday, March 22, 2018

Happy Decade, Blog!


Hi Friends!

As I was poking through doing some organization of keywords and such on the blog, I happened to notice that this blog has been online for TEN YEARS, as of March 7th! Yes, there were some hiatuses, and some name changes, but my first post was March 7th, 2008, and you can still go back and read it if you want. I think that's pretty darn neat.

10 YEARS.


Yours,

Sarah

To subscribe, find the "subscribe by email" note in the left column and enter your email there. Posts will be emailed directly to you whenever I post them!

Resource list: Visit my spreadsheet at www.tinyurl.com/infantloss